Thursday, February 7, 2013

THE GOLDEN TOUCH

Or in this case, the copper touch.


My previous post documented my infatuation with warm metallics, and you too can join in on the obsession with a simple DIY project using metallic leaf! Add a little gilded goodness to almost any surface--wood, plastic, glass, ceramic, metal, plaster, paper--you name it--you can bling it with metallic leafing.

Here's a brief tutorial:

You will need:
-Metal leaf (I've seen gold, copper, and silver. I used copper here.)
-Metal leaf adhesive
-A couple brushes (foam brushes/soft paint brushes)
-Metal leaf sealer
-Object to be metallic-ized (I did a small plant pot.)


1. After making sure your project surface is clean, apply a thin layer of metal leaf adhesive. Wait about 45 minutes for the adhesive to dry and get tacky.


2. Carefully apply a metal leaf sheet onto the tacky project surface, and use a soft brush to remove excess metal leaf. If you find the leaf too delicate to handle with your hands, you can press a piece of wax paper to your metal leaf sheet (so that it sticks to the wax paper), and apply to your surface. Continue until surface is covered as desired. It's difficult to handle the leaf without tearing, but it's all good if it does tear! I think the leafing looks better layered and a little distressed.


3. Apply metal leaf sealer, let dry, and BLING, you have a glamorous new accessory!


I've already added leafing to a couple planters, a clock, and some curtain rod finials. I'd cover my entire body in gold leafing if I could.

Sunday, February 3, 2013

HEAVY ON THE METAL

I'm currently loving all things metallic when it comes to home accessories. Vases. Planters. Frames. Lamps. Pillows. All of it. I like to mix vintage finds, cool big-box retail buys, and easy DIY projects in warm metals like gold, brass, and copper to cozy up my cooler-toned color schemes of navies and greens, while adding simple touches of glamor. Here's a tour of my metallic obsession.

This gold vase was an inexpensive estate sale find.

This little gold picture frame came from the local Goodwill.

I glammed up a cheap old plastic clock with copper leafing.

This adorable gold patterned pillow is from the Nate Berkus line at Target.

Craigslist is great for vintage goodies like this brass floor lamp.

A boring plant pot gets a makeover with some DIY copper leafing.

Oh man, you can metallic-ize anything and everything with some gold or copper leafing. I hope to have a short tutorial to follow. Get ready to King Midas that junk!

Thursday, January 31, 2013

REAGAN IN WONDERLAND


Today is my beautiful, wonderful, and altogether lovely best friend Reagan's birthday! There are countless reasons why I'm in love with this girl (besides the fact that she comments on my posts), but most recently, I've so admired her passion for serving those in need, literally feeding the hungry as a staff member for Feeding America. Her heart is big and beautiful, and she's living out what is good. To act justly. To love mercy. To walk humbly with our God.

Reagan has long adored Alice in Wonderland, so I decided to make her an Alice-themed cake a couple years ago. I am an absolute amateur when it comes to cake-making, but I was very happy with how this topsy-turvy, fondant-covered cake turned out.


Reagan and her husband Brandon live in the exact opposite of the country from me right now, which stinks, as we probably only see each other a couple times a year. Wish she was here to make pretty cakes and spray paint things with me.

Friday, January 11, 2013

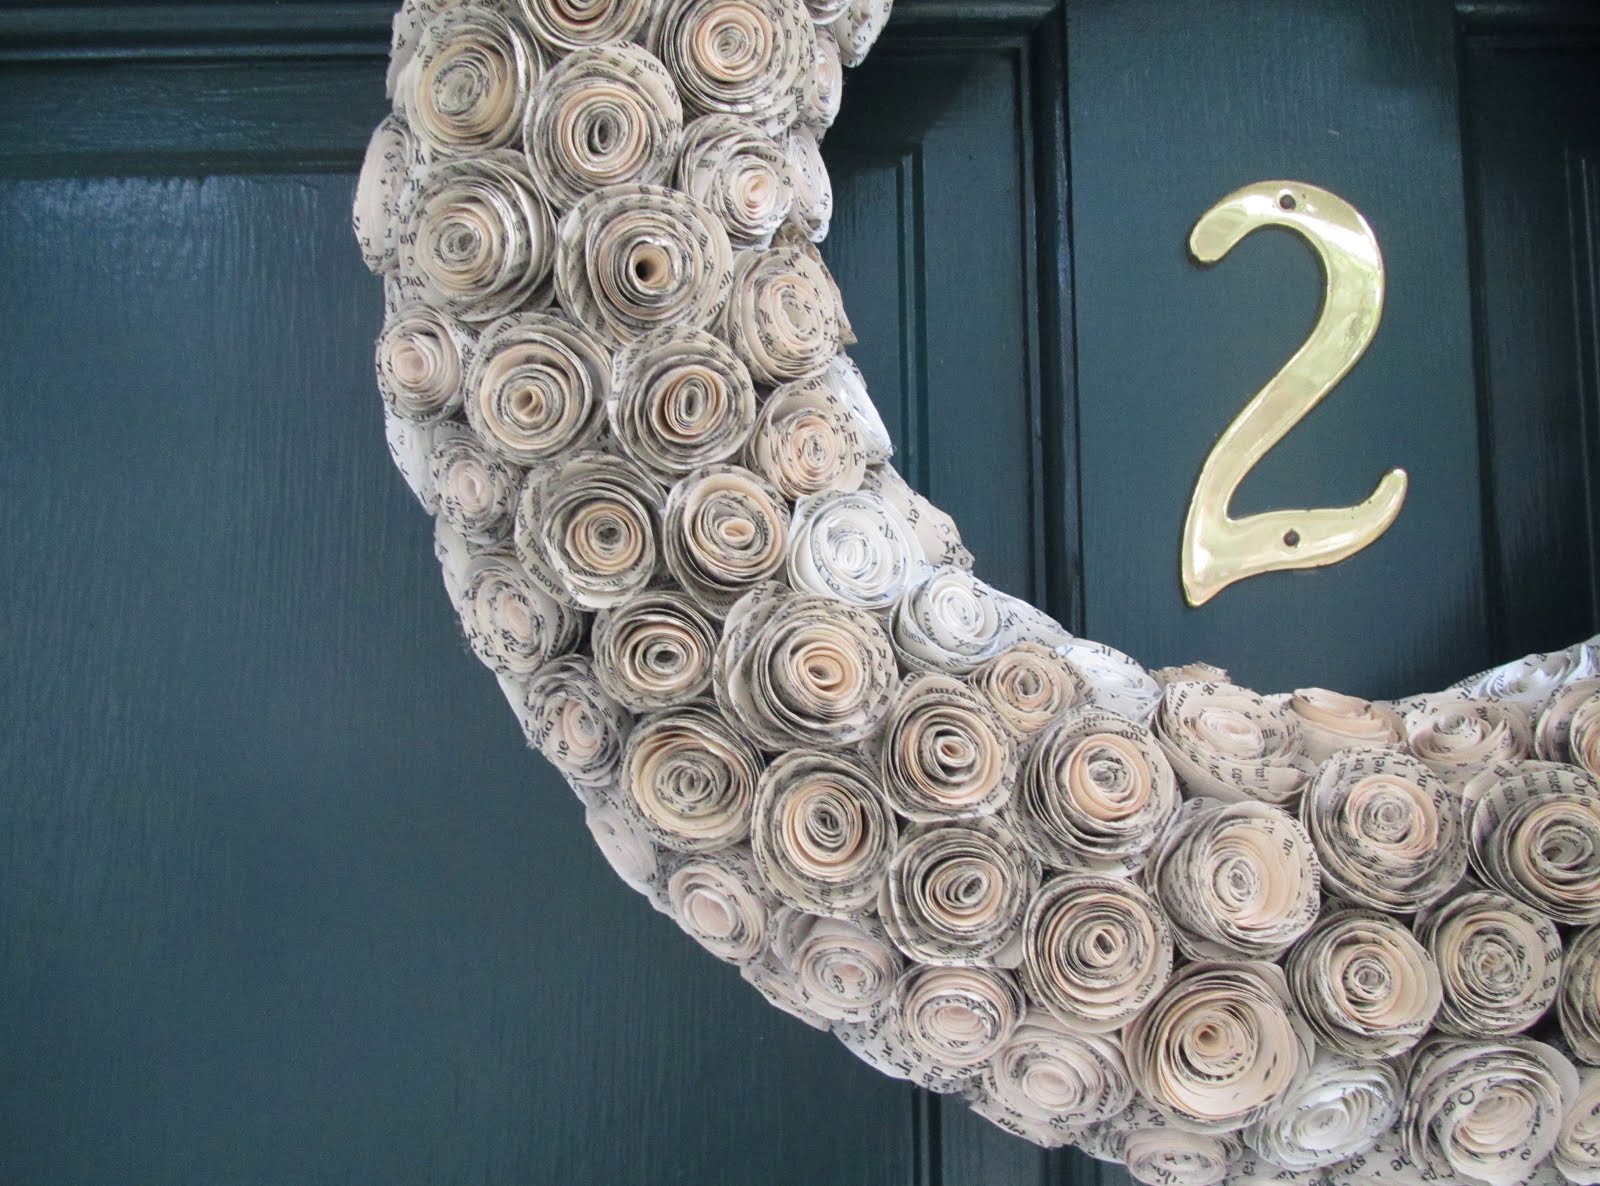
COPY THAT: PAPER ROSE WREATH


The blog world is crammed full of handy dandy crafty people, and in the Pinterest era, it's easy to flat out duplicate something cool that you find. I love sharing my own projects as well as sharing in other people's creativity. So I'm going to start a recurring post called "COPY THAT" to log various projects that have been inspired by bloggers and friends. My first COPY THAT comes from Under The Table and Dreaming, and a complete tutorial can be found here.

The holidays are over, but this wreath can hang year-round.


I dressed the wreath up with a glittery gold bow for Christmas.


Note: A Lord of the Flies and Fahrenheit 451 were harmed in the making of this project. So it's not just pretty; it's subversive.

Tuesday, January 8, 2013

HEY STUD


If you saw the previous post, you might've caught a glimpse of the studded upholstered headboard that I made for our master bedroom. It combines a couple of my current aspirations for a bedroom--a clean, cream/white color scheme with a little bit of an edge.

THE INSPIRATION:


West Elm Nailhead Upholstered Headboard (Queen: $449)

THE PROJECT:


THE MATERIALS:

MDF or plywood (62" wide x 38" tall for queen)
Spray adhesive
Fabric
Batting
Staple gun and staples
Nailhead trim
Materials for hanging/standing

I neglected to photograph the entire how-to process, but you can find an awesome tutorial on budgetwisehome.com. I ended up not using any foam because it is a bit expensive. I just used batting, and I'm pretty happy with it. I also did not hang my headboard on the wall. I just screwed two scrap 2x4s to the back, threw on some felt pads, and just leaned it flush against the wall.


As you can see, the back of the headboard can be far from perfect! Ain't nobody gonna see it!

Sunday, January 6, 2013

DRAWING ON THE WALLS


I LOVE WALLPAPER. Especially with metallic patterns. But living in an apartment makes this a forbidden love, unless I want to go through the pain and heartbreak of removing the paper at move-out time. Not to mention the fact that beautiful wallpaper is just expensive. I've seen some cool removable options from tempaperdesigns.com and whatisblik.com, but the price was still a bit steep for me.

So I decided draw on the walls with Sharpies.

THE INSPIRATION:


L-to-R:
Metallic gold wallpaper seen on emilyhenderson.com
Gold sharpie wall seen on littlegreennotebook.blogspot.com

THE PROJECT:

I bought a 12-count box of gold Sharpies on Amazon for about 12 bucks. That was the total cost of this project, folks! And I only used 9 of them.


I made a stencil of a circle pattern that I like. It was also important to me that I chose a very forgiving pattern to minimize the effect of the inevitable mistakes I would make. I wanted the stencil to be pretty sturdy, so I ended up making it out of an old plastic binder. I have this cool Silhouette craft cutter, which made this process easy, but you can certainly cut a stencil by hand.


I just traced the pattern across my 11x8ft wall.


And a couple LOTRs and one While You Were Sleeping later...


I'll be sad when we have to move and I have to paint over it.